How to Install a Step Light
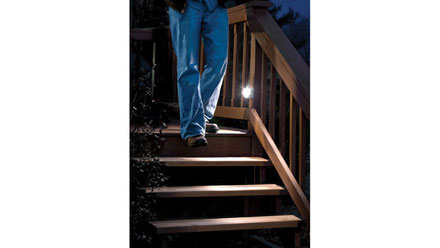
Both aesthetically pleasing and a good safety measure, step lights are an excellent accessory to staircases, walkways, and outdoor decks. They're also easy to install, requiring little more effort than installing an electrical socket or wall switch. In just three steps, you can bring the security of an LED, CFL, or incandescent step light to your home.
Before You Begin
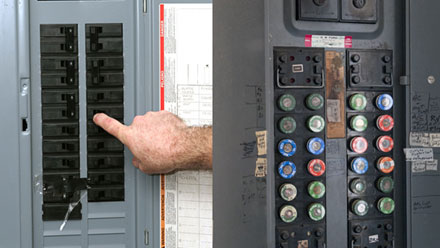
Before you begin, use the circuit breaker to cut off the power to the room or area you will be working in and assemble the needed tools and equipment. You won't need many tools--just a screwdriver, a saw, a pair of wire strippers, and some wire nuts. It's also a good idea to wear a mask and goggles to shield your face from any debris encountered in the installation process.
Step 1: Install the Junction Box
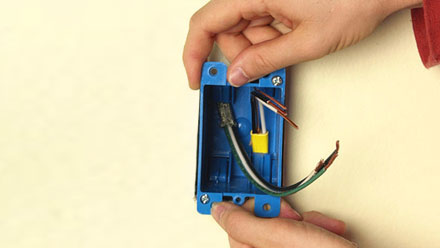
Many step lights come with a matching junction box, but if yours doesn't, follow the recommended dimensions in the user manual. Use the footprint supplied with the junction box to mark the area you will install the step light, and use a saw to cut out the area. Install and wire the box according to NEC standards.
Step 2: Wire the Step Light
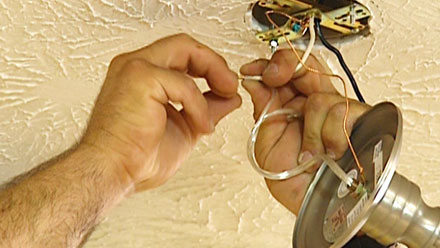
Attach the wires from the step light to the wires you've run in the junction box using wire strippers and wire nuts. Connect green to green (usually the ground--may also be bare copper), black to black, and white to white.
Step 3: Finish the Installation
Finally, stuff the wires into the junction box and attach the step light. If the step light is a CFL or incandescent fixture, the step light housing may be a separate part from the faceplate; in this case install the housing and screw in the bulb before installing the faceplate. You can now turn the power back on and enjoy your new step lighting!