
Holiday Lighting Guide
Getting Started

Important Tips
- Do not overload extension cords.
A regular 9 ft. extension cord with a three plug receptacle will handle 3 light sets of the same length per receptacle. You can vary sets with different number of lights on an extension cord, but as with wall receptacles, not in the same receptacle. - Plug in light strings before putting them on the tree.
Plugging in lights allows you to find missing or burned out bulbs before you decorate your tree and helps you to evenly distribute the lights throughout the tree. - Plug light strings into a surge protector.
As an extra deterrent to overload, and to protect your lights from voltage spikes, plug your lights into a surge protector. - Use replacement bulbs of the correct voltage and type.
Replacement bulbs are not all the same. They may vary in voltage and bulb type. For example, you cannot replace a 35 light set bulb with a 50 light set bulb because a 35 light set uses a 3.5 volt bulb while a 50 light set uses a 2.5 volt bulb. You also cannot, for instance, replace a Perm-O-Snap bulb with a standard twist-proof bulb. - Consider Switching to LED.
1000Bulbs offers LED options in almost every Christmas light category. Many people are switching to LED Christmas lights to take advantage of the energy savings properties without compromising on light output or quality of light. Also, since LED lights produce much less heat than traditional lights, they are less of a fire hazard when left on for extended periods of time.
Decorating
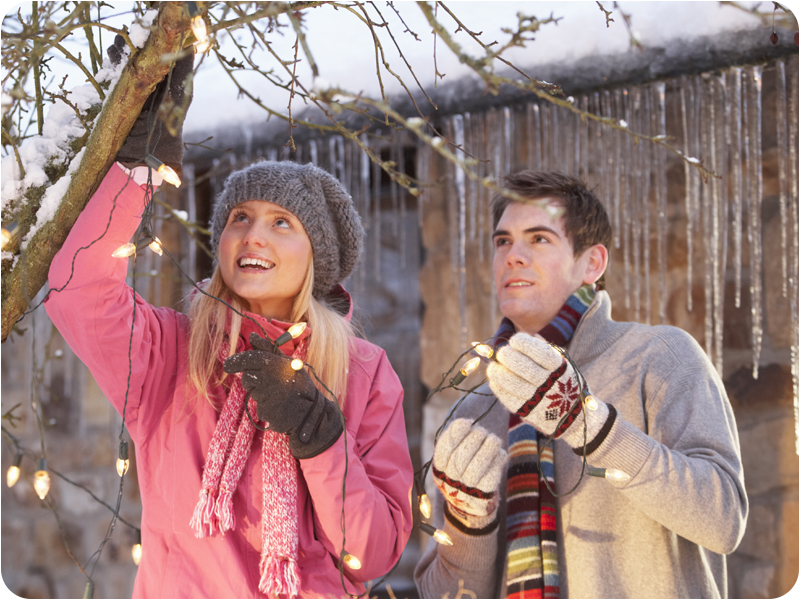
Looking for a beautiful, hassle-free lighting display this holiday season? This comprehensive guide from 1000Bulbs.com will help you conquer any lighting problem you may encounter.
Decorating Your Christmas Tree
The most iconic symbol of the holiday season is the family tree. Decorating this symbol of Christmas cheer tastefully and beautifully can be a challenge. Keeping that in mind, 1000Bulbs.com suggests 3 simple tips to make your tree more beautiful―and your decorating easier―than it has ever been.
Tip #1: Keep replacements on hand
When you find the perfect lights for your tree, you want to have replacements that match. Buy a set or two more than you need in case a string goes bad sometime over the holiday season. Also make sure to have plenty of replacement bulbs because "borrowing" bulbs from another set can cause burnouts and is potentially dangerous, especially if the bulbs are of different voltages.
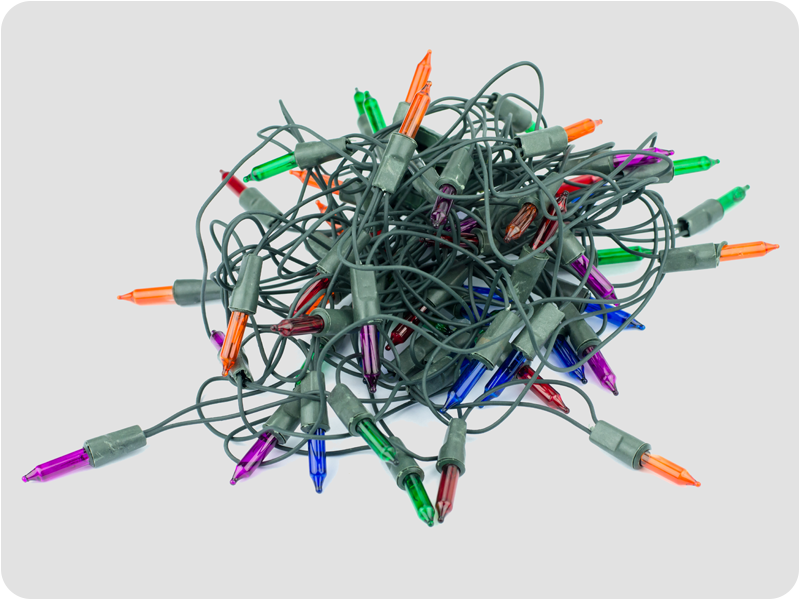
Tip #2: Test your lights first
We\'ve all done this before: We decorate the entire tree only to notice afterward that an entire string is dead! To avoid this, plug in each set of lights to make sure they work. Test for burned out bulbs and partially dead strings to avoid the hassle and embarrassment of having to redecorate your tree halfway through Christmas dinner.
Tip #3: Light your tree section by section
Don\'t light your tree all at once. To make sure your tree is evenly lighted, hang lights section by section and make corrections as you go. You might also try following an "S" or "wave" pattern instead of simply "wrapping" your tree.
Hanging lights in your yard
Want the best looking Christmas decorations on the block? Decorating the outside of your home may seem like a daunting task, but with the right decorations and technique, it can be just as easy as decorating your Christmas tree.
First, make sure your lights are approved by outdoor use. Do this by checking the UL Listing tag at the end your light string. Those marked "Indoor/Outdoor" can be used, whereas those marked "Indoor Use Only" should never be used outdoors under any circumstances. Using lights or decorations not approved for outdoor use can cause premature burnouts, electrical shorts, or even a fire.
When you are sure you have the properly approved lights, bushes and shrubs are usually the best place to start decorating. 1000Bulbs.com offers several lighting choices for bushes and shrubs: LED Mini Lights and Incandescent Mini Lights are typically used over C7 and C9 strings, but both can be used. Decorating bushes and shrubs is much like decorating your indoor tree. Wrap or drape your lights in the fashion that most evenly distributes your lights. Use an "S" pattern to maximize your results. Net Lights are an even easier option that some decorators prefer: Simply cast them on the bush or shrub like a net and pull them back off when the holiday season is over.
Do you have more trees than bushes? If so, you can really go for the "wow" factor by turning your outdoor trees into giant Christmas trees. Start with the trunk of the tree. Mini lights work fine here, but Trunk Lights are even better. Don\'t stop there! Branches and leaves can be decorated as well. Drape Mini Lights or C7 strings in a random pattern throughout the branches and watch your yard really light up.
Using the right stakes and clips, you can also accent you sidewalks and driveways with LED C7 light strings and Incandescent C7 light strings to give carolers a festive pathway right your front door.
Hanging Roof Lights
Practice electrical safety
At 1000Bulbs.com, we want you to have Clark Griswold\'s lights, but we also want you to be safe. Use the properly approved extension cords and always plug them into an electrical outlet protected by a ground fault circuit interrupter or GFCI. Remember that these lights will most likely get wet and will be exposed to the elements, so always use lights that are UL Approved for Indoor/Outdoor Use. And if your lights trip a breaker, don\'t just flip it back; reduce the load of that circuit by plugging some of your light strings into another outlet.
Buy the right lights in the right amount
With the exception of Icicle Lights, mini lights are rarely used on roofs as they simply don\'t put off enough light. C7 light strings (7/8 in. diameter) are most commonly used and C9 light strings (1-1/8 in diameter) are also used for a truly bright display. Most C7 and C9 strings are 25 ft. long, so an average home (with a 100 ft. roof) will use at least 4 strings.
Test your lights
Having a perfectly trimmed house means nothing if your strings won\'t light up, so never hang your lights without first testing them. Even before plugging your strings in, look for broken or missing bulbs and replace them with the correct replacements. If your wires are worn, don\'t patch them; replace the entire string. If all your bulbs are in working order and the string still won\'t light, follow the manufacturer\'s instructions to to replace a burned out fuse.
Hang your lights
Despite what the movies may say, staple guns are the worst―and most unsafe―way to hang Christmas lights. Staples will also damage your roof. To hang your lights like the pros do, use the appropriate clips to hang your lights. Shingle tabs work best for mounting lights along the perimeter of your roof, while gutter hooks and gutter clips work best for hanging Icicle lights from gutters. Omni All-In-One clips work well for multiple types of light strings and decorations, and for a variety of surfaces. Clips should always be spaced no more than 12 inches apart.
Go Green!
With advancements in energy-saving LED technology, decorating your home for Christmas is no longer environmentally irresponsible. Are your C7 or C9 bulbs burned out? Instead of replacing them with incandescent replacements, buy a box of LED replacements instead and cut your energy usage by more than 20%. Also consider replacing your old light strings with LED strings. For even more savings, use one of our outdoor rated timers from Intermatic to control your lights for you and save energy at the same time.
Maintenance
Christmas lights and other holiday decorations are notorious for being poorly manufactured and unreliable. Our Christmas lights are commercial grade, with greater durability and quality than our competitors. However, should you experience problems with our lights, or any Christmas light set, the following guides offer advice and solutions to the most common Christmas light problems.
WHAT TO DO WHEN LIGHTS FAIL
- Check that all circuits are on and that all plugs are plugged into a sufficient power source.
- Check the plug fuses of the light set. If the filament within the fuse is broken, replace the fuse. It is also sometimes necessary to spread plug prongs of plugs to insure circuit contact. This is a common problem.
- While the light set is plugged into a sufficient current, run a finger slowly over the bulb tops. If the light set comes on while touching a particular bulb, this bulb is most likely causing a short in the circuit. Remove and replace this bulb. In this case, the wire was not making contact with the light socket.
- Check that the appropriate amount of light sets are plugged into each other, end to end. There should be no more than two (2) sets of lights plugged into each other.
- If the lights are plugged into an extension cord, there may be an overload. Make sure there are not too many lights plugged into the cord. Also check the plug fuse of the extension cord. *NOTE* It is always best to check any light set while it is plugged into a wall plug outlet.
- Should a light set be burning brighter than normal, there are most likely more than eight (8) to fifteen (15) bulbs that have burned out. Find and replace those bulbs that are not working. Do not replace burned out bulbs while the light set is plugged in. This will cause a current surge and will burn out the new bulb.
- When replacing a burned-out bulb in a mini light set, it is helpful to use a tester. This will dramatically simplify the repair of light sets on both trees and displays. To use the tester, plug one light set into the plug outlet on the light tester. Push the test button on the tester; a buzzing sound will come from any defective bulbs. Remove and replace the bulb(s). On light sets of over fifty lights (light spheres, 100 light sets, etc.), remove one bulb from the end of the set or sphere, and plug the light into the tester. Push the test button. Remove and replace the bulb. Continue testing each light until the defective light is found.
Power Setup
You don\'t need to read your electric bill to know that outdoor Christmas lights can draw a huge amount of power. 100 feet of incandescent C9 bulbs, for instance, draw 3 and half times more power than most televisions! Needless to say, if you plug too many light strings into one plug, you will quickly overload that circuit.
Most homes have a 16 amp plug in the front and back yard; however, that circuit is usually shared with a room in the home, so not all 16 amps are usable. If you are planning a large Christmas light display, it is wise to calculate the number of amps your Christmas lights and decorations draw to make sure it is far less than 16 amps.
Amperage is usually posted on the UL tag at one end of your light string. If it is not, use this formula to determine the amperage of your light strings:
Number of Feet x Number of Watts Per Bulb / 125 Volts = Number of Amps
Using the example above:
100 Feet of C9 Bulbs x 7 Watts per Bulb / 125 Volts = 5.6 Amps.
Assuming other electrical devices are not using this circuit, you could plug additional lights or decorations into your outdoor plug. However, you should check the UL tag for maximum connections (usually 3) before plugging additional lights in end-to-end.
Note: Most Mini Light strings are not rated in watts, but amps, so the math is done for you.
Bulb Replacement
- Grasp the plug and remove it from the receptacle or other outlet device. Do not unplug the string by pulling on the cord.
- Pinch the grooves on the sides of the socket. Gently pull the lamp base upwards.
- Align the grooves in the base of the replacement lamp with the grooves in the socket.
- Gently push the lamp into the socket until you hear a SNAP. That means the lamp base is locked in place.
- Replace the lamp only with a matching lamp from the set.
- In case the lamp base of new replacement lamp does not fit lamp holder:
- Remove the lamp from its base by straightening the wires and pulling the lamp out of the base.
- Insert the new lamp into the base by fitting wires thought the two holes in the bottom of the base and then bending the wires up onto the sides of the base.
- Insert the completed lamp/base unit into lamp holder.
Fuse Replacement
- Grasp the plug and remove it from the receptacle or other outlet device. Do not unplug the string by pulling on the cord.
- Open the fuse cover. Slide open the panel located on the top of the attachment plug towards the blades to expose the two fuses.
- Remove the fuse carefully by turning the attachment plug over.
- To avoid the risk of fire, replace the fuse only with the correct amperage replacement fuse (check packaging).
- Close the fuse cover by sliding the panel on top of the attachment plug.
Risk of fire. Do not replace attachment plug. Contains a safety device (fuse) that should not be removed. Discard product if the attachment plug is damaged.